DesignCTER
A User Guide
1 Introduction
Welcome 👋, this is a user guide for DesignCTER, a cross-platform application for design CT protocols in emergency department.
Web App: https://design-cter.netlify.app
Desktop App: please see release in GitHub
Code: GitHub
1.1 Overview
This app consist of two modes in the bottom tab:
Design: Design CT Protocol (Figure 1.1)
Calculate: Calculators for commonly used formula in radiology (Figure 1.2)
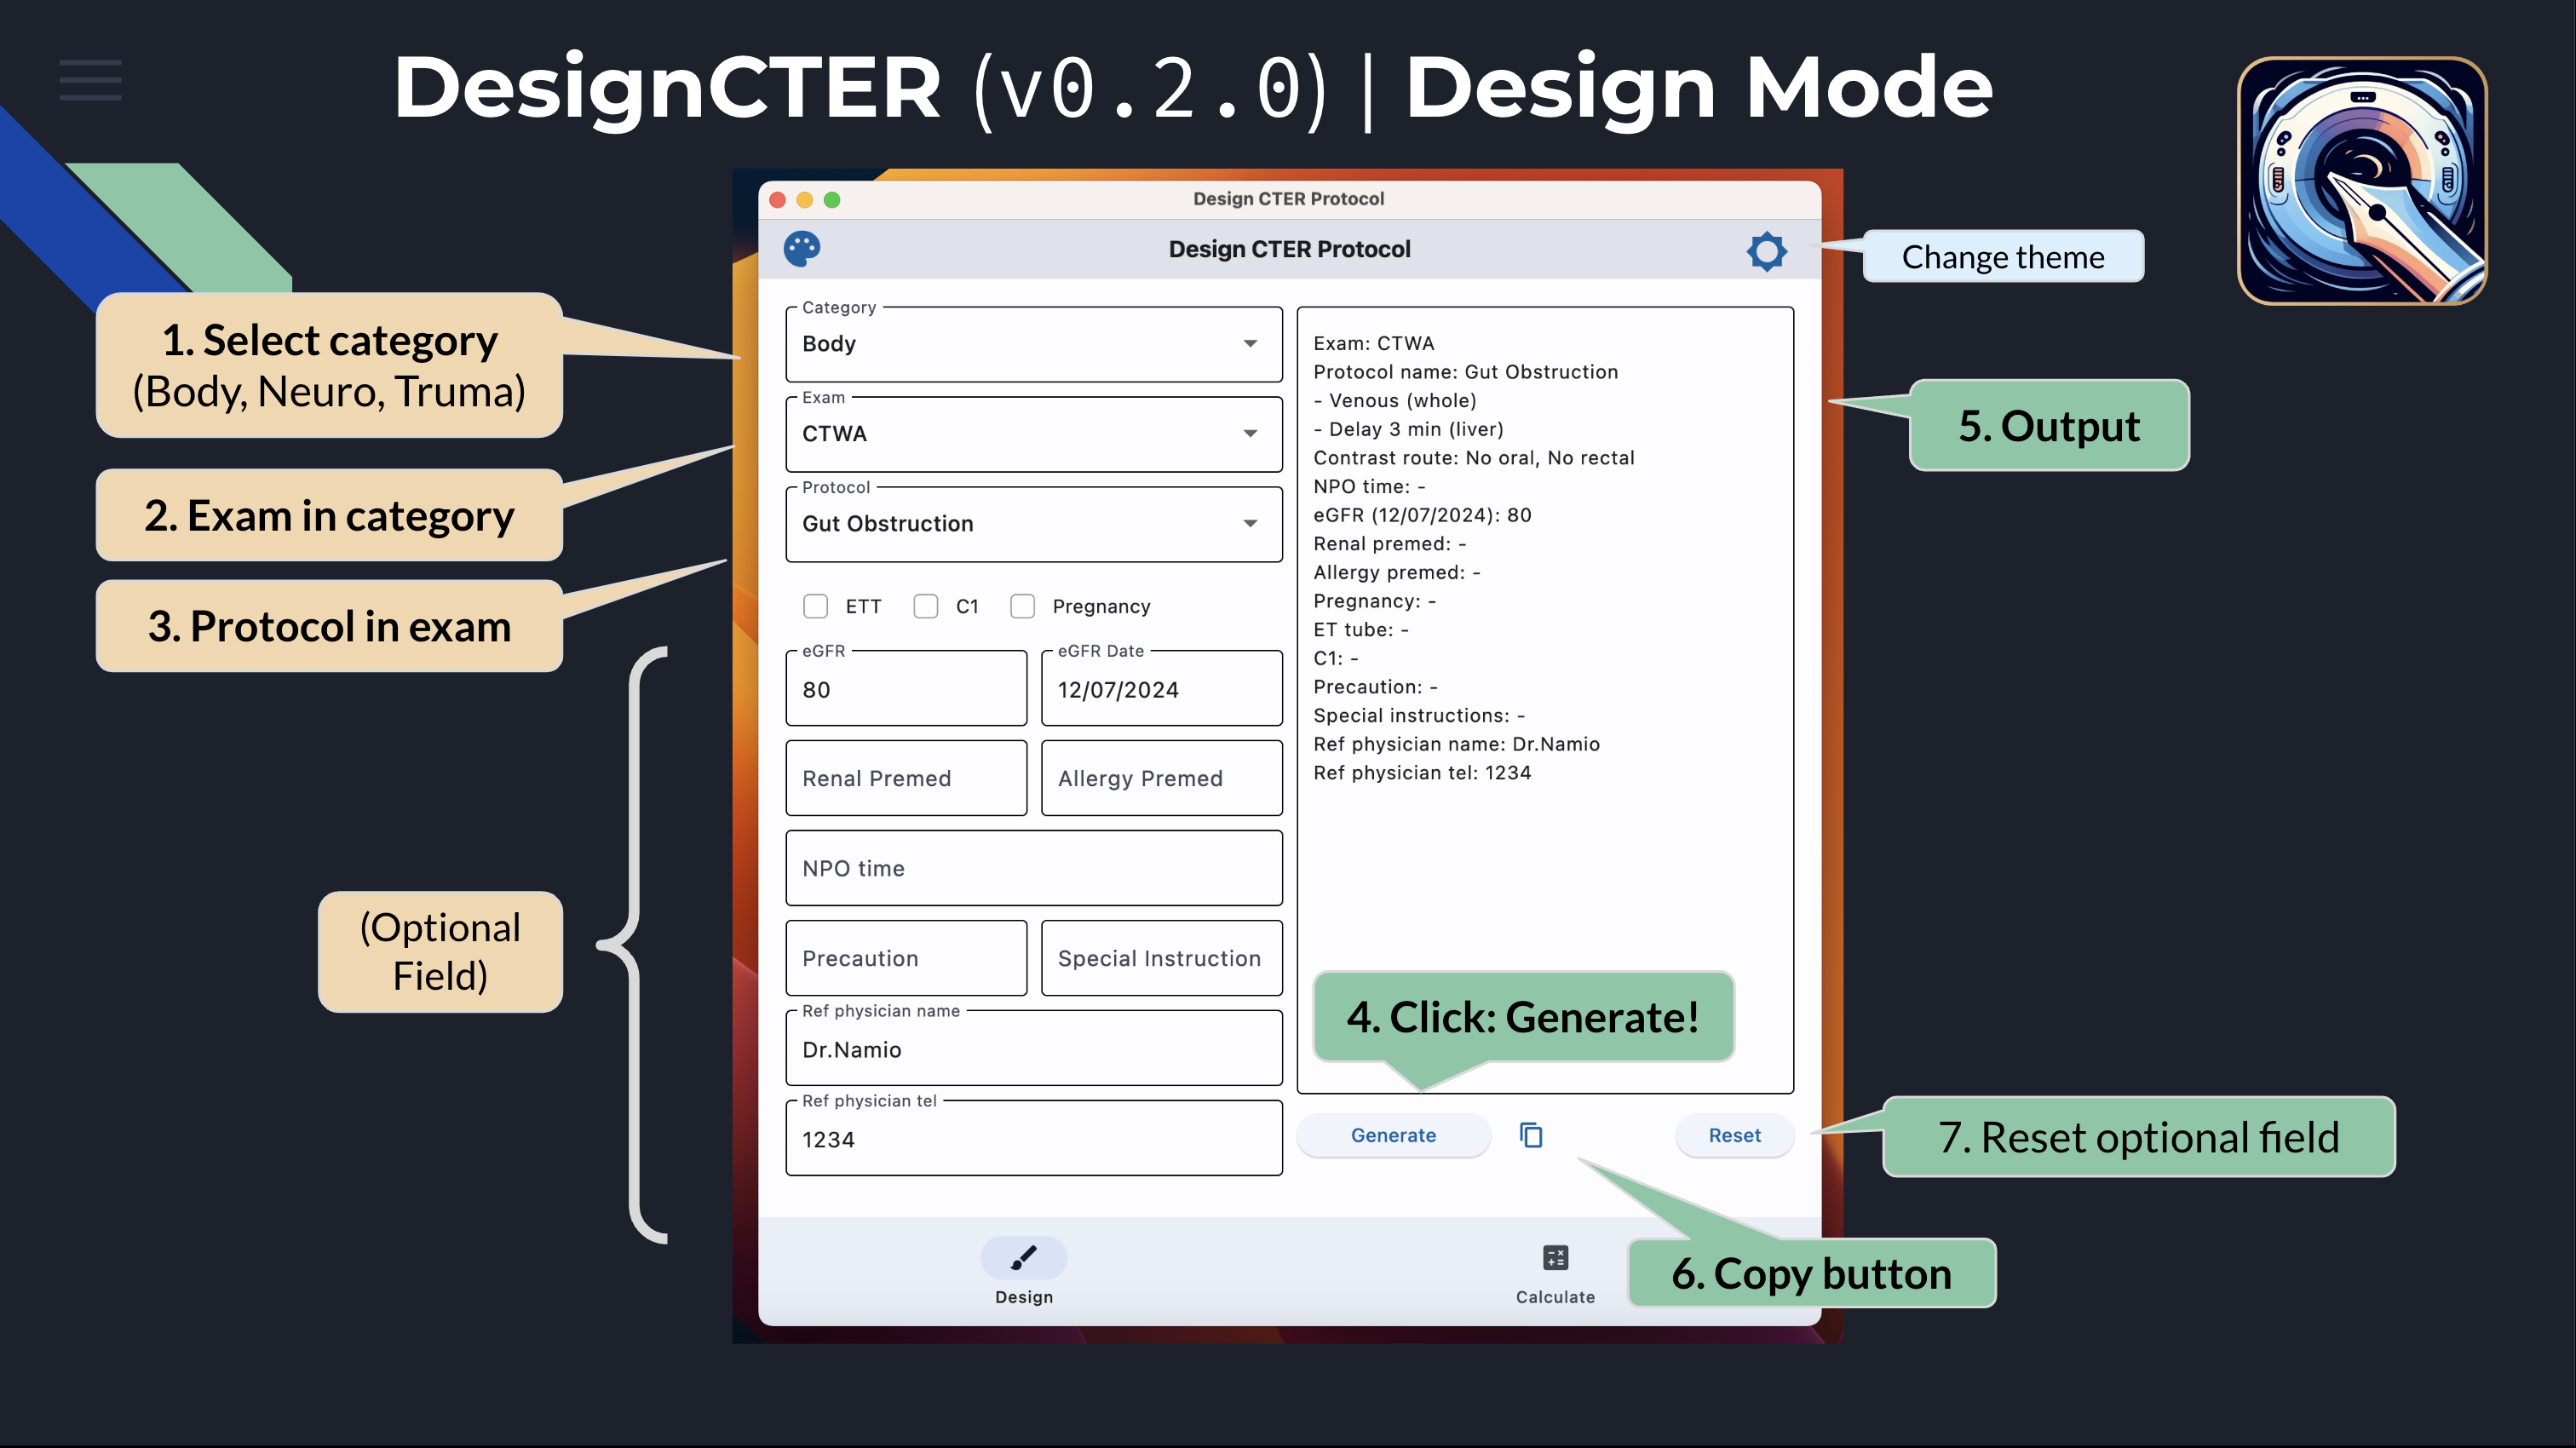
1.2 Design Mode
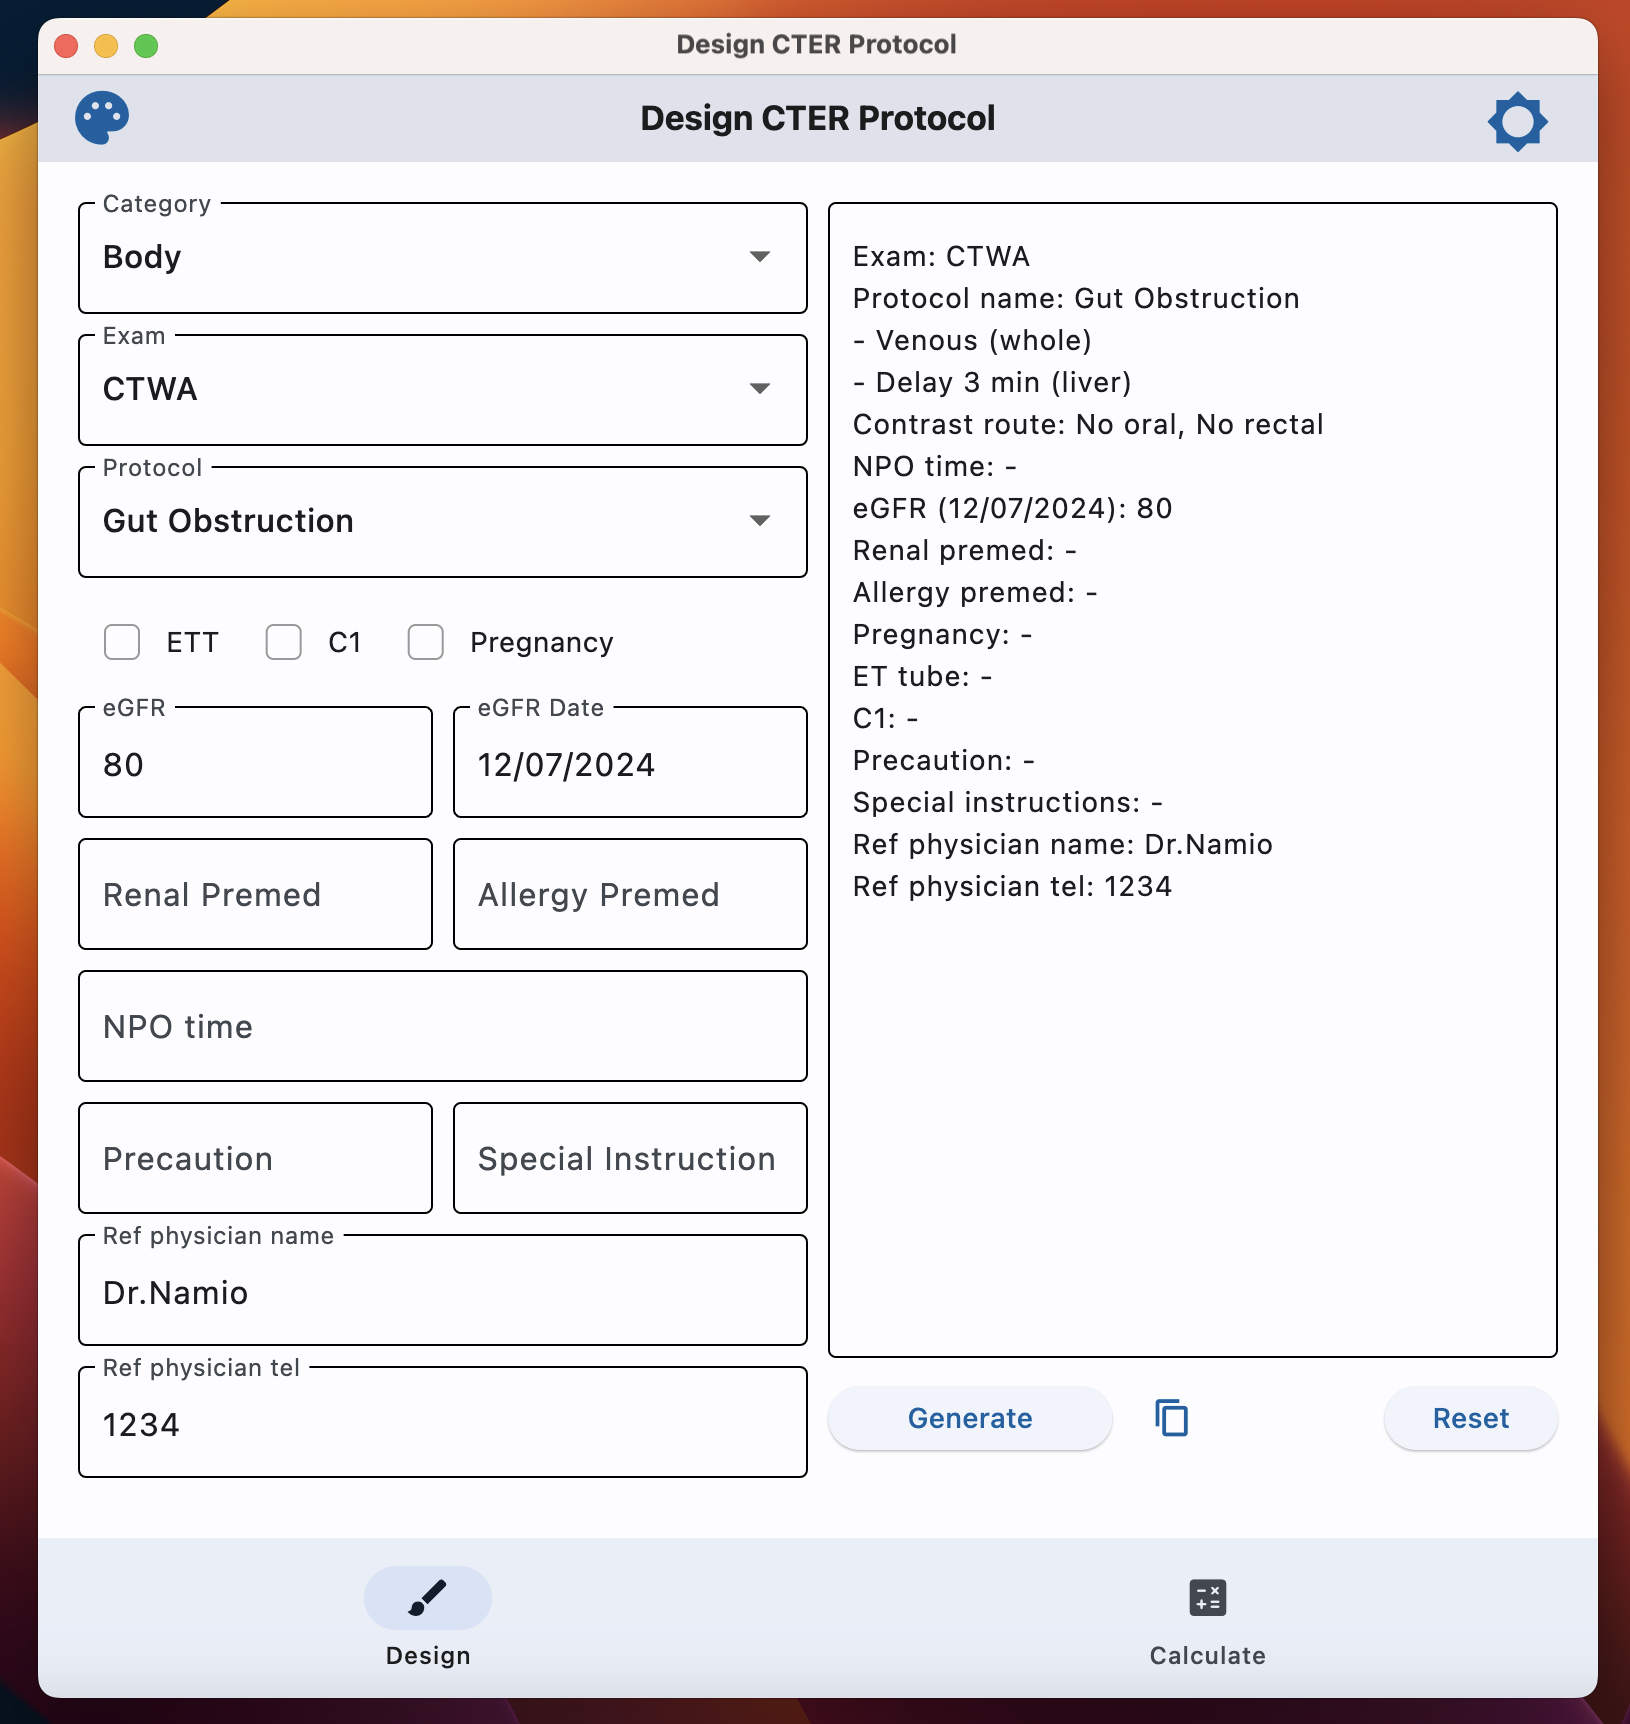
- This mode will generate CT protocols available from 3 levels dropdown: “category”, “exam”, and “protocol”.
- Other information can be filled in the input text field or checkboxes.
- Once finished, user can press Generate, then the protocol will render accordingly in the output text field.
1.3 Calculator Mode
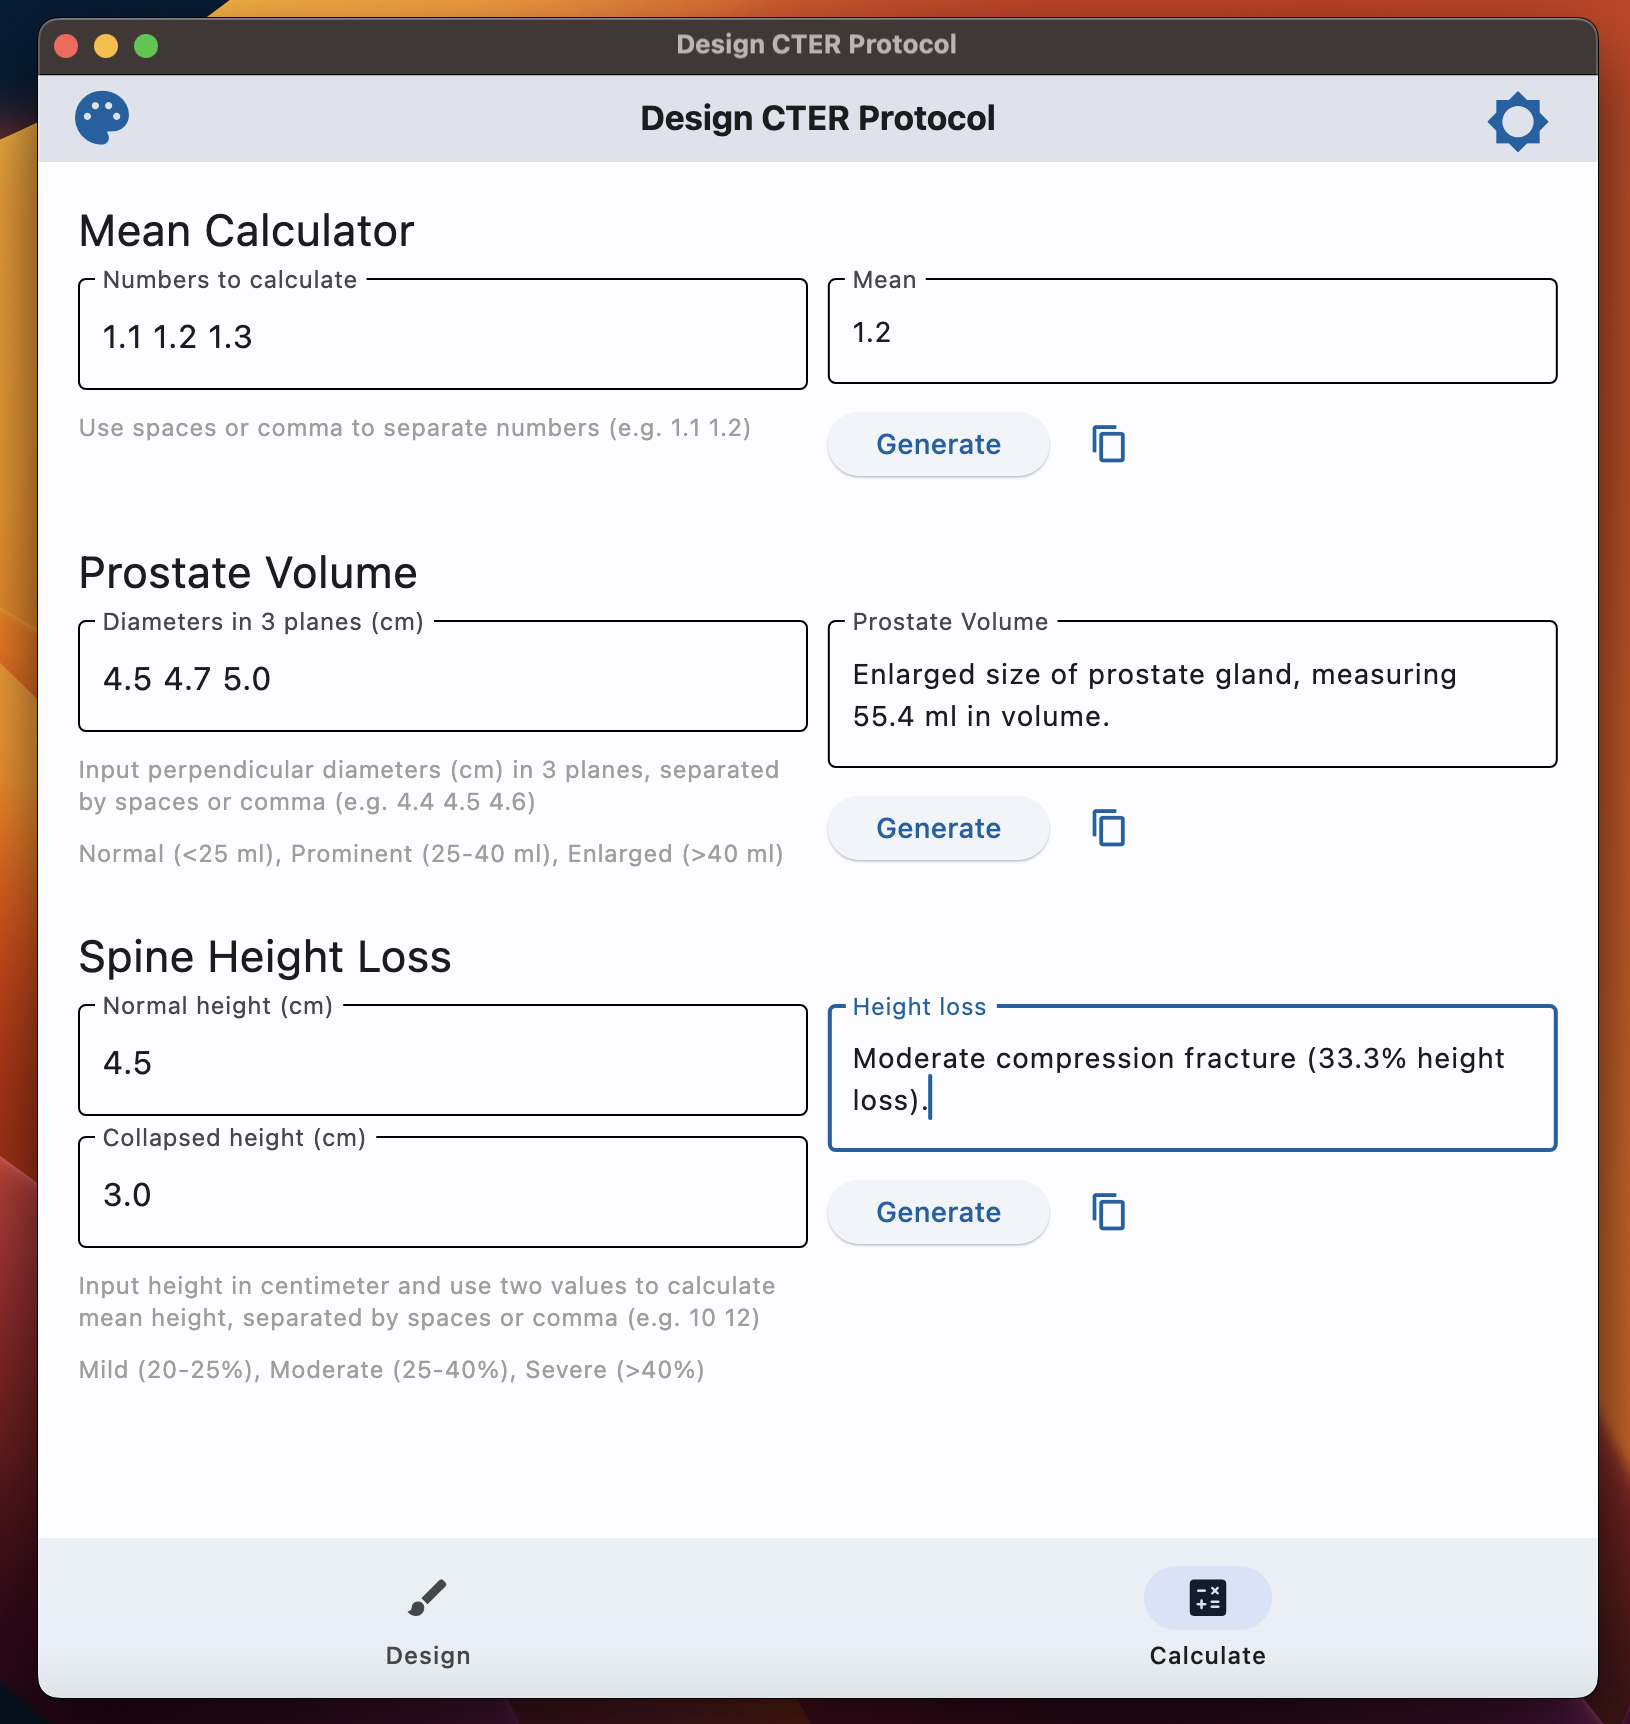
This helper mode can be use as a calculator for writing radiology report which includes build-in calculator for common task, such as mean calculator (for calculate dose), prostate volume, and spine height loss.
1.3.1 Mean calculator
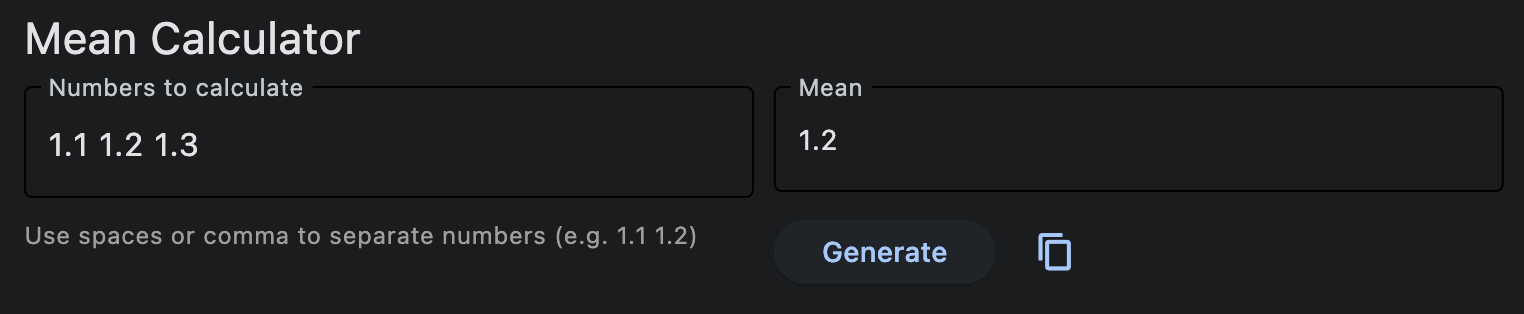
To calculate mean value from any input numbers (separated by blank space or comma)
Usage example: type
1.11.21.3then press “Enter” or click “Generate”, the app will calculate mean values, which is1.2.
1.3.2 Prostate volume
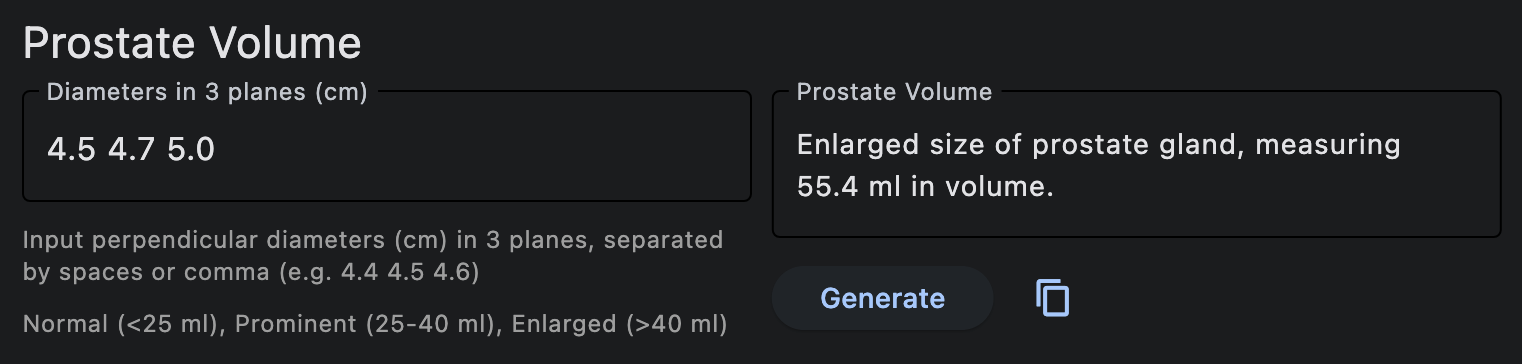
Input: Perpendicular diameter (cm) of prostate in 3 planes (separated by blank space or comma).
Output: A report for prostate volume, using ellipsoid formula.
Usage example: If diameter(s) of a prostate were 4.5, 4.7, and 5.0 cm in 3 planes:
- Type
4.54.75.0in the textbox - Press “Enter” or click “Generate”
- The app will calculate prostate volume and interpretation in the output dialog, which can be copied to report.
- Type
Interpretation of prostate volume was based on the following criterion:
- Normal (< 25 ml)
- Prominent (25-40 ml)
- Enlarged (> 40 ml)
\[ \frac{4}{3} \pi \times r_1 \times r_2 \times r_3 \tag{1.1}\]
Where \(r_1\), \(r_2\), \(r_3\) are radius along 3 perpendicular axis, or
\[ \frac{1}{6} \pi \times D_1 \times D_2 \times D_3 \approx 0.5 \times D_1 \times D_2 \times D_3 \tag{1.2}\]
Where \(D_1\), \(D_2\), \(D_3\) are diameter along 3 perpendicular axis.
1.3.3 Spine Height Loss
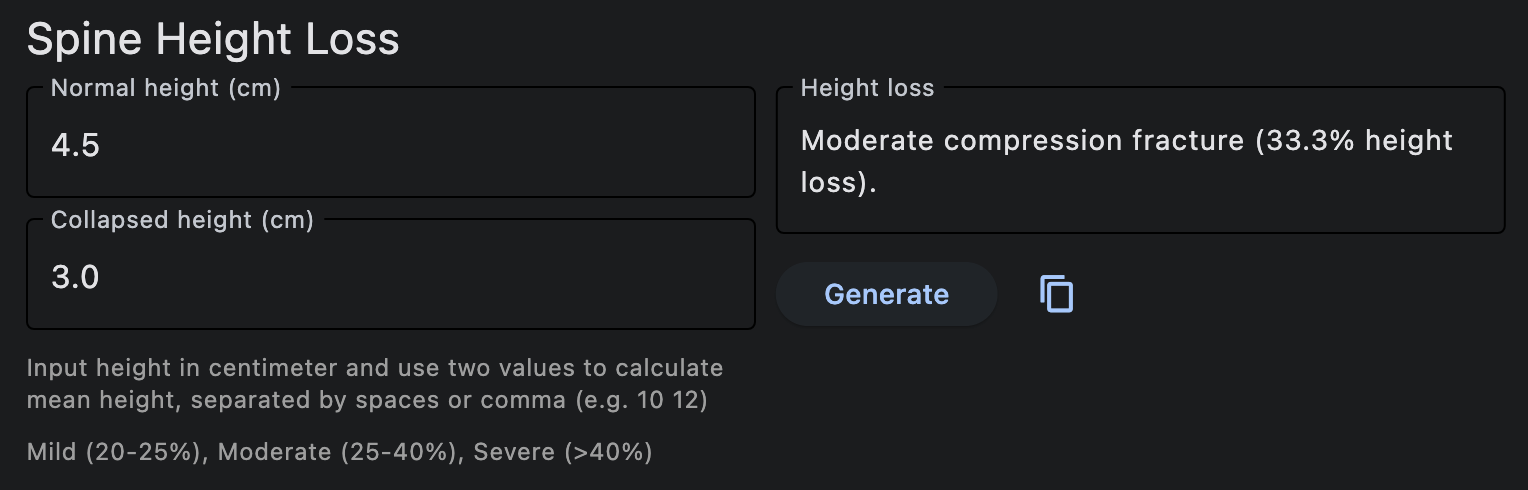
- Input: Normal and collapsed height of spine. If there is no normal reference of the spine (e.g. severe collapse), the height of the two adjacent vertebrae can be used by input two numbers in the “Collapsed height (cm)” textbox (separated by blank space or comma).
- Output: A report for percentage of vertebral compression fracture with grading (mild, moderate, severe) using Genant’s classification.
Usage example: If Normal height = 4.5 cm, Collapsed height = 3.0 cm
- Type
4.5in “Normal height” and3.0in “Collapsed height” textbox - Press “Enter” or click “Generate”
- Percentage of height loss and severity will be calculated, in this case:
\[ \text{Height loss} = (4.5 - 3.0) \times 100 / 4.5 = 33.3\% \]
Which is moderate height loss according to Genant’s classification.
- Grade 0: Normal
- Grade 1: Mild loss of height (20-25%)
- Grade 2: Moderate loss of height (25-40%)
- Grade 3: Severe loss of height (> 40%)